Klipper firmware is open-source printer firmware that moves motion planning off the printer’s mainboard and onto a separate computer such as a Raspberry Pi, with the mainboard only executing timed step commands.
It is a popular upgrade in 3d printing, and this guide explains how it works, what it changes, and what it costs in setup effort.
How Klipper splits the work between two computers
Two processors share the job in a Klipper setup, and that split is the whole idea. According to the official Klipper documentation, the firmware “utilizes an application processor (such as a low-cost Raspberry Pi) when calculating printer movements.” The small microcontroller on the printer board no longer plans the path; it only carries it out.
The host works out when each stepper motor should step, compresses those events, and sends them to the microcontroller. The documentation describes the microcontroller as executing each event “at the requested time.” Each stepper event is scheduled with a precision of 25 microseconds or better, a timing figure that the project credits for quieter and more stable operation.
Traditional firmware such as Marlin runs everything on the mainboard, so the planning maths competes with step generation for the same limited chip. Offloading the maths means that both older and newer boards can be driven at high stepping rates, which the Klipper features page says enables higher print velocities.
Klipper also supports printers with several microcontrollers at once, and the host software synchronises their clocks to account for drift. A printer with a separate toolhead board or extra motor controllers can therefore be treated as one machine.
What Klipper changes in print behaviour
The 25 microsecond scheduling precision is the headline technical claim, but the visible changes come from the features built on top of it. The documentation lists Smooth Pressure Advance, which it describes as “a mechanism to account for the effects of pressure within an extruder.” Filament is compressible, so extrusion lags behind the motors on speed changes. Pressure advance pushes extra filament during acceleration and pulls it back during deceleration, which sharpens corners.
The documentation also says Klipper’s implementation does not introduce instantaneous extruder speed changes, which it credits with improving stability and robustness.
The second feature people cite is input shaping. Input shaping adjusts motion to cancel a printer’s resonant frequency, and the Klipper documentation says this can reduce or eliminate “ringing” (also known as “ghosting”, “echoing”, or “rippling”) in prints. Ringing appears as faint ripples after sharp corners, and it grows worse as acceleration rises. Cancelling it lets users raise acceleration without trading away surface finish.
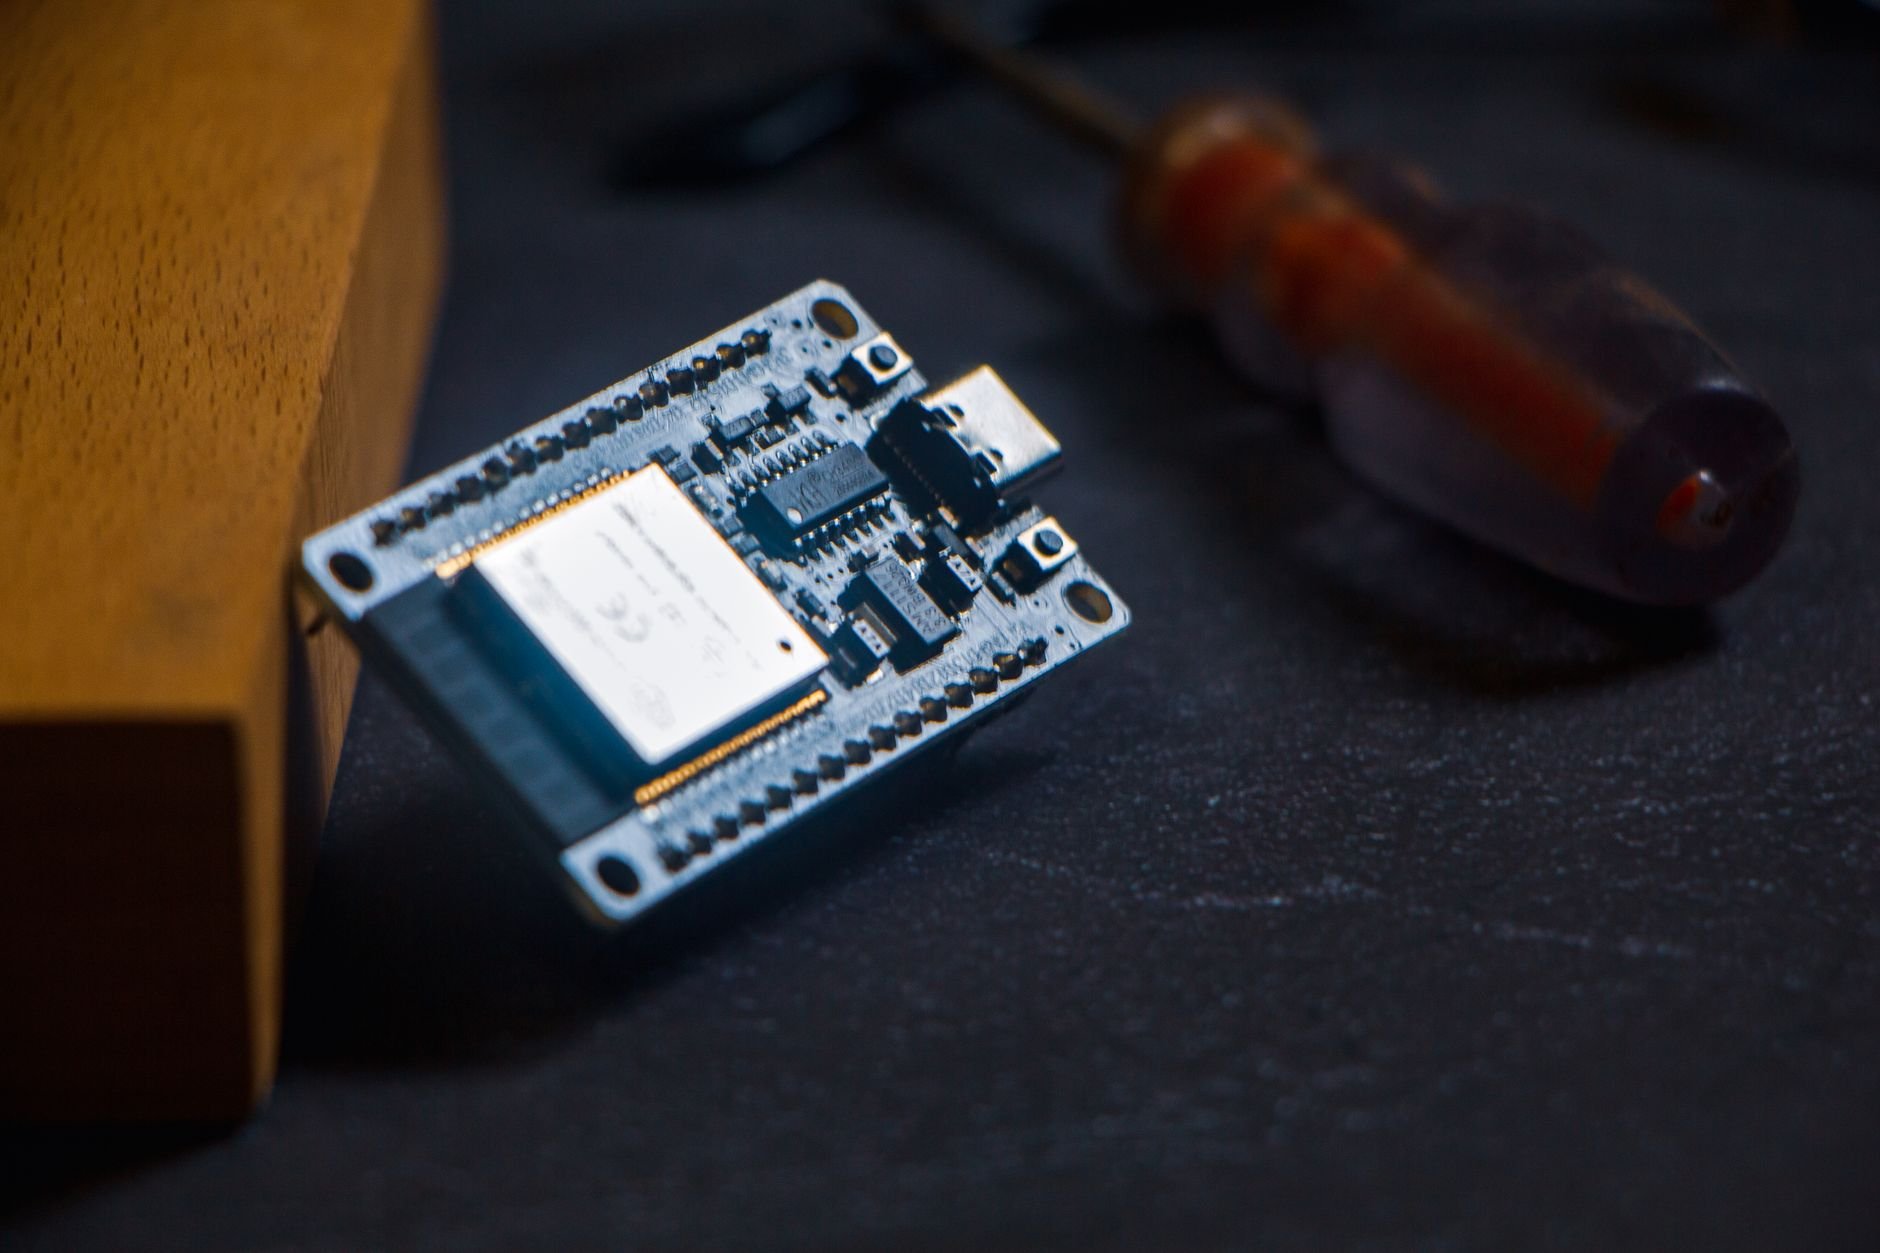
Measuring resonance requires hardware. Klipper documents support for recording acceleration with six accelerometer chips: the adxl345, mpu9250, mpu6050, lis2dw12, lis3dh and icm20948. In practice, most guides use a small adxl345 board wired to the Raspberry Pi to run the calibration.
Klipper and surface quality
Ringing, corner bulges and uneven extrusion are the three defects that Klipper’s features target most directly. Anyone troubleshooting 3d print quality will recognise them, and each has a matching tool: input shaping for ghosting, pressure advance for corners and seams, and tighter step timing for general smoothness.
Firmware cannot fix a loose belt, a wobbling frame or wet filament. Klipper’s tuning tools measure and compensate for mechanical behaviour; they do not replace sound mechanics. A printer with a flexing gantry will still show artefacts, only at a different speed.
The honest summary is that Klipper raises the ceiling on speed-versus-quality trade-offs. A well-built printer gains the most, because its remaining defects are the ones that software can address. A neglected printer gains little until the mechanical faults are corrected.
Configuration, interfaces and OctoPrint
One file defines the entire printer. The documentation states that “All of Klipper’s configuration is stored in a standard config file which can be easily edited.” Changing a setting means editing text and restarting the firmware service, with no recompiling and no reflashing for most changes, which is a real contrast with firmware that bakes settings into compiled code.
The official Klipper overview includes an installation guide for running octoprint with Klipper, so the familiar web interface remains an option. Other users choose web front ends in the Moonraker ecosystem, such as Mainsail or Fluidd, though those are outside the official documentation cited here.
The documentation’s own advice for newcomers is brief: “If new to Klipper, start with the features and installation documents.” The same overview also covers bed levelling, a FAQ, release history and a contact page for bug reports.
A practical workflow follows from this. Owners typically print a calibration model, measure resonance with the accelerometer, apply the shaper the software recommends, and then tune pressure advance with a test tower. Each step changes one variable, which keeps results comparable between runs and makes it easier to see which adjustment actually helped.
The one-file configuration helps here too. Because every tuned value lives in plain text, users can keep a copy of the file in version control, compare it against an earlier known-good state, and roll back a bad experiment in seconds.
Costs, trade-offs and who should skip it
Klipper needs a second computer, and that is its main cost. The documentation’s example is a low-cost Raspberry Pi, so the hardware outlay is modest, but it is still an extra device to mount, power and keep updated. The printer also depends on that host: if the host crashes mid-print, the job stops.
Setup is the other cost. Installing means flashing the mainboard with a Klipper build, then writing or adapting a configuration file for the exact printer. Mistakes there can produce errors that a stock, pre-flashed machine would never show.
- Good fit: tinkerers, owners of fast printers with visible ringing, and anyone running several microcontrollers.
- Weaker fit: people who want a printer that works from the box with no maintenance, or whose machine already ships with tuned firmware.
Commercial printers from several vendors now ship with Klipper-based firmware already installed, which removes most of the setup burden. Buyers should check the specific model’s documentation before assuming so.
Frequently asked questions
Is Klipper firmware free?
Is Klipper firmware free?
Yes. The Klipper project documentation is published openly at klipper3d.org, and the software is open source. The only cost is the host computer, which the documentation suggests can be a low-cost Raspberry Pi.
Does Klipper need a Raspberry Pi?
Does Klipper need a Raspberry Pi?
It needs an application processor. The official features page names a Raspberry Pi as the example, and the host performs the movement calculations while the printer board executes steps with a precision of 25 microseconds or better.
Can Klipper remove ghosting?
Can Klipper remove ghosting?
It can reduce it. The Klipper features documentation says input shaping can reduce or eliminate ringing, and it lists six supported accelerometer chips, including the adxl345, for measuring resonance.
Can Klipper work with OctoPrint?
Can Klipper work with OctoPrint?
Yes. The official Klipper overview links to a guide for installing OctoPrint with Klipper, so the existing workflow can be kept.