3d print quality problems usually come down to three bridging settings (speed, cooling and flow) plus first-layer adhesion and ambient temperature. Fix them one at a time, starting with the first layer.
This guide belongs to the wider 3d printing section and focuses on defects that can be diagnosed from the printed part itself.
Start with one change at a time
Prusa’s knowledge base frames bridging as “three key settings”: slicer settings, speed and cooling. The same discipline applies to every defect. Change a single variable, print a small test, and compare it with the previous result. Changing temperature, speed and retraction together makes it impossible to tell which one helped.
A short test print saves hours. A small calibration object that includes an overhang, a bridge and a thin tower exposes most problems in a few minutes, and keeping the failed versions beside the new ones turns guesswork into a record.
Warping and corner lifting
Prusa’s warping guide describes the problem as the corners of a large object lifting from the bed, seen mostly with high-temperature materials such as PC Blend, ASA or ABS. The plastic shrinks as it cools, and the lower layers pull away from the plate.
The first fix is the first layer itself. The same guide says plainly: “Do not over-squish the first layer.” A layer pressed too hard bulges at the edges and can make lifting worse, so correct the nozzle-to-bed distance rather than adding more pressure.
Ambient temperature is the second fix. For materials that warp, the guide advises that if you print with these materials most of the time, you should consider having the printer in an enclosure. It also cautions that “Printing PLA or PETG in an enclosure might not be a good idea”, because those materials need strong part cooling and a hot chamber works against it.
Adhesion can also be too good. The guide warns that bed adhesion might be too high with PETG or PC and might result in a damaged PEI surface, so a release agent or a cooler first layer is sometimes the right answer.
Poor bridges and sagging overhangs
Bridging means printing layers over thin air without supports. Prusa notes that the best results come over short distances, because the fans have to cool the plastic mid-air to form a solid connection.
Its recommendation is to use a lower speed for bridges and a lower bridging flow. The first bridging layer should be printed with a lower flow of material, and the setting is called Bridge flow ratio in PrusaSlicer. The ideal approach is to print a bridging test model several times, each with a different flow, and keep the best one.
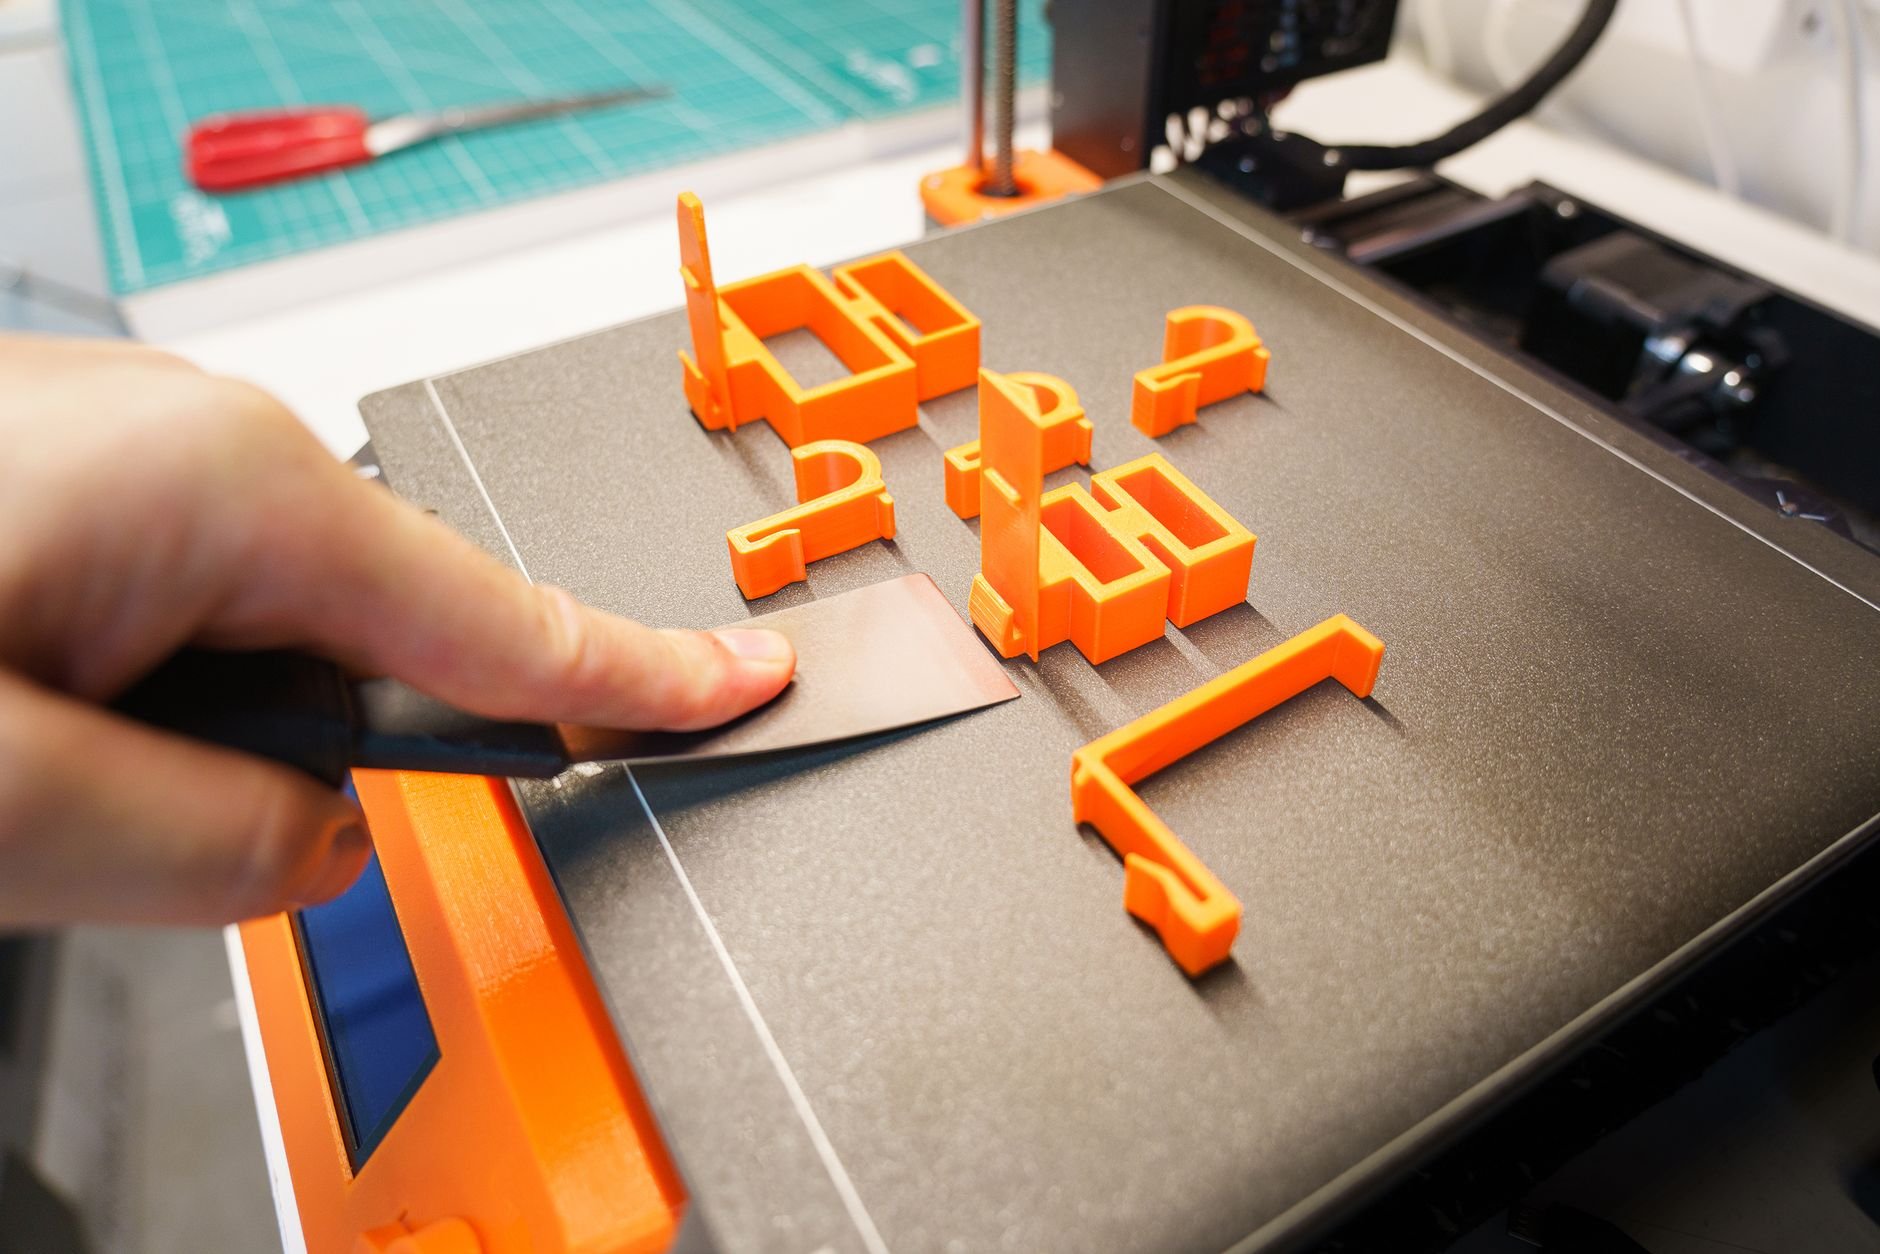
If bridges still droop after tuning, shorten the span in the model, add a small support or rotate the part so the longest gap runs in a different direction.
Stringing, blobs and under-extrusion
These defects point at the extrusion path. Thin hairs between features come from plastic oozing during travel moves, so check retraction distance, travel speed and nozzle temperature. Damp filament makes it worse, and a part that crackles or steams while printing usually needs drying before any settings are touched.
Under-extrusion, with thin gaps in walls and weak top surfaces, can come from a partially clogged or worn nozzle. The sibling guide on the 3d printer nozzle covers sizes, materials and wear in detail.
Ringing and speed-related artefacts
Ripples that echo sharp corners are called ringing, and they come from vibration when the toolhead changes direction. Lowering acceleration reduces them directly. Firmware-level input shaping goes further by cancelling the resonance, and the guide to klipper firmware explains how that feature works.
Loose belts, a wobbling spool or a printer standing on an unstable table produce similar patterns, so rule out the mechanical causes before touching software.
Building a repeatable 3d print quality routine
Good prints depend on habits as much as settings. Before judging any profile, confirm the basics: a level and clean bed, a nozzle that is not partly blocked, belts that are tight, and filament that has been stored dry. A defect that appears on every print usually has a mechanical or material cause, while a defect that appears only on one model usually points at that model’s geometry or the slicer profile.
Keep a simple log. Write down the filament brand, the nozzle temperature, the bed temperature, the speed profile and the result. After a handful of prints the log shows patterns that memory misses, such as a spool that strings every time or a corner of the bed that always lifts first.
Change the slicer profile only after the hardware checks pass. If a stock profile for the printer and filament produces a clean test, the problem lies in the custom changes. Return to the stock values and add the changes back one by one until the defect reappears.
Model orientation is the cheapest fix of all. Rotating a part so that long overhangs face a different direction, placing the largest flat face on the bed, or splitting a tall part into two pieces can remove a defect without touching a single setting. Large flat footprints with sharp corners are the likeliest to lift, so rounding the corners in the model or adding a small brim in the slicer gives the edges more grip.
Cooling deserves its own check. Part-cooling fans need clear ducts, and a fan that is partly blocked by a string of plastic will quietly ruin bridges and small features. Look at the airflow after any nozzle swap, since a changed hot-end can shift the airflow direction.
Finally, accept that some materials simply cost more effort. Flexible filaments, high-temperature plastics and abrasive composites each demand their own profile, and a setting that works for a common filament may fail on them. Treat each new spool as a new experiment and run a short test before committing to a long print.
A quick diagnosis checklist
- Corners lift: check first-layer height, bed cleanliness and drafts, and consider an enclosure only for high-temperature materials.
- Bridges sag: slow them down, lower the bridge flow ratio and make sure the fan runs.
- Strings and hairs: dry the filament, then tune retraction and temperature.
- Ripples at corners: reduce acceleration and tighten the mechanics.
Frequently asked questions
Should I put every printer in an enclosure?
Should I put every printer in an enclosure?
No. Prusa’s warping guide says printing PLA or PETG in an enclosure might not be a good idea because those materials need strong cooling, while PC Blend, ASA and ABS benefit from one.
How do I improve bridges without changing the model?
How do I improve bridges without changing the model?
Lower the bridge speed and the bridge flow ratio in PrusaSlicer, as the Prusa knowledge base recommends, and print a bridging test several times with different flow values.
Can the first layer be too well stuck?
Can the first layer be too well stuck?
Yes. Prusa warns that with PETG or PC the adhesion might be too high and might result in a damaged PEI surface.