Resin printing cures liquid photopolymer with ultraviolet light one layer at a time, a process Chuck Hull patented in 1984. It gives smooth, detailed parts, but it needs gloves, ventilation and a wash-and-cure routine.
It is one branch of 3d printing, and it behaves very differently from the filament machines most beginners meet first.
How resin printing works
Hull filed his patent in 1984 and it was granted in 1986, according to Wikipedia’s history of the technology. His patent described a concentrated beam of ultraviolet light focused onto the surface of a vat filled with a liquid photopolymer. Where the light hits, chemical monomers and oligomers cross-link into a solid polymer, forming a single layer of the object.
The build platform then moves by one layer height and fresh resin flows or is recoated across the surface. The cycle repeats until the model is finished. Hull went on to co-found 3D Systems, which Wikipedia describes as the world’s first 3D printing company, to commercialize the method.
The technology goes by several names. Stereolithography (SLA), vat photopolymerisation and “resin printing” all describe the same family of light-cured processes. Hobby machines vary the light source: a laser traces each layer in classic SLA, while other designs flash a whole layer at once through a projector or a masked screen. In every case the part is built from a liquid that hardens only where light reaches it, which is why fine detail is the strength of the method.
What resin printing does well
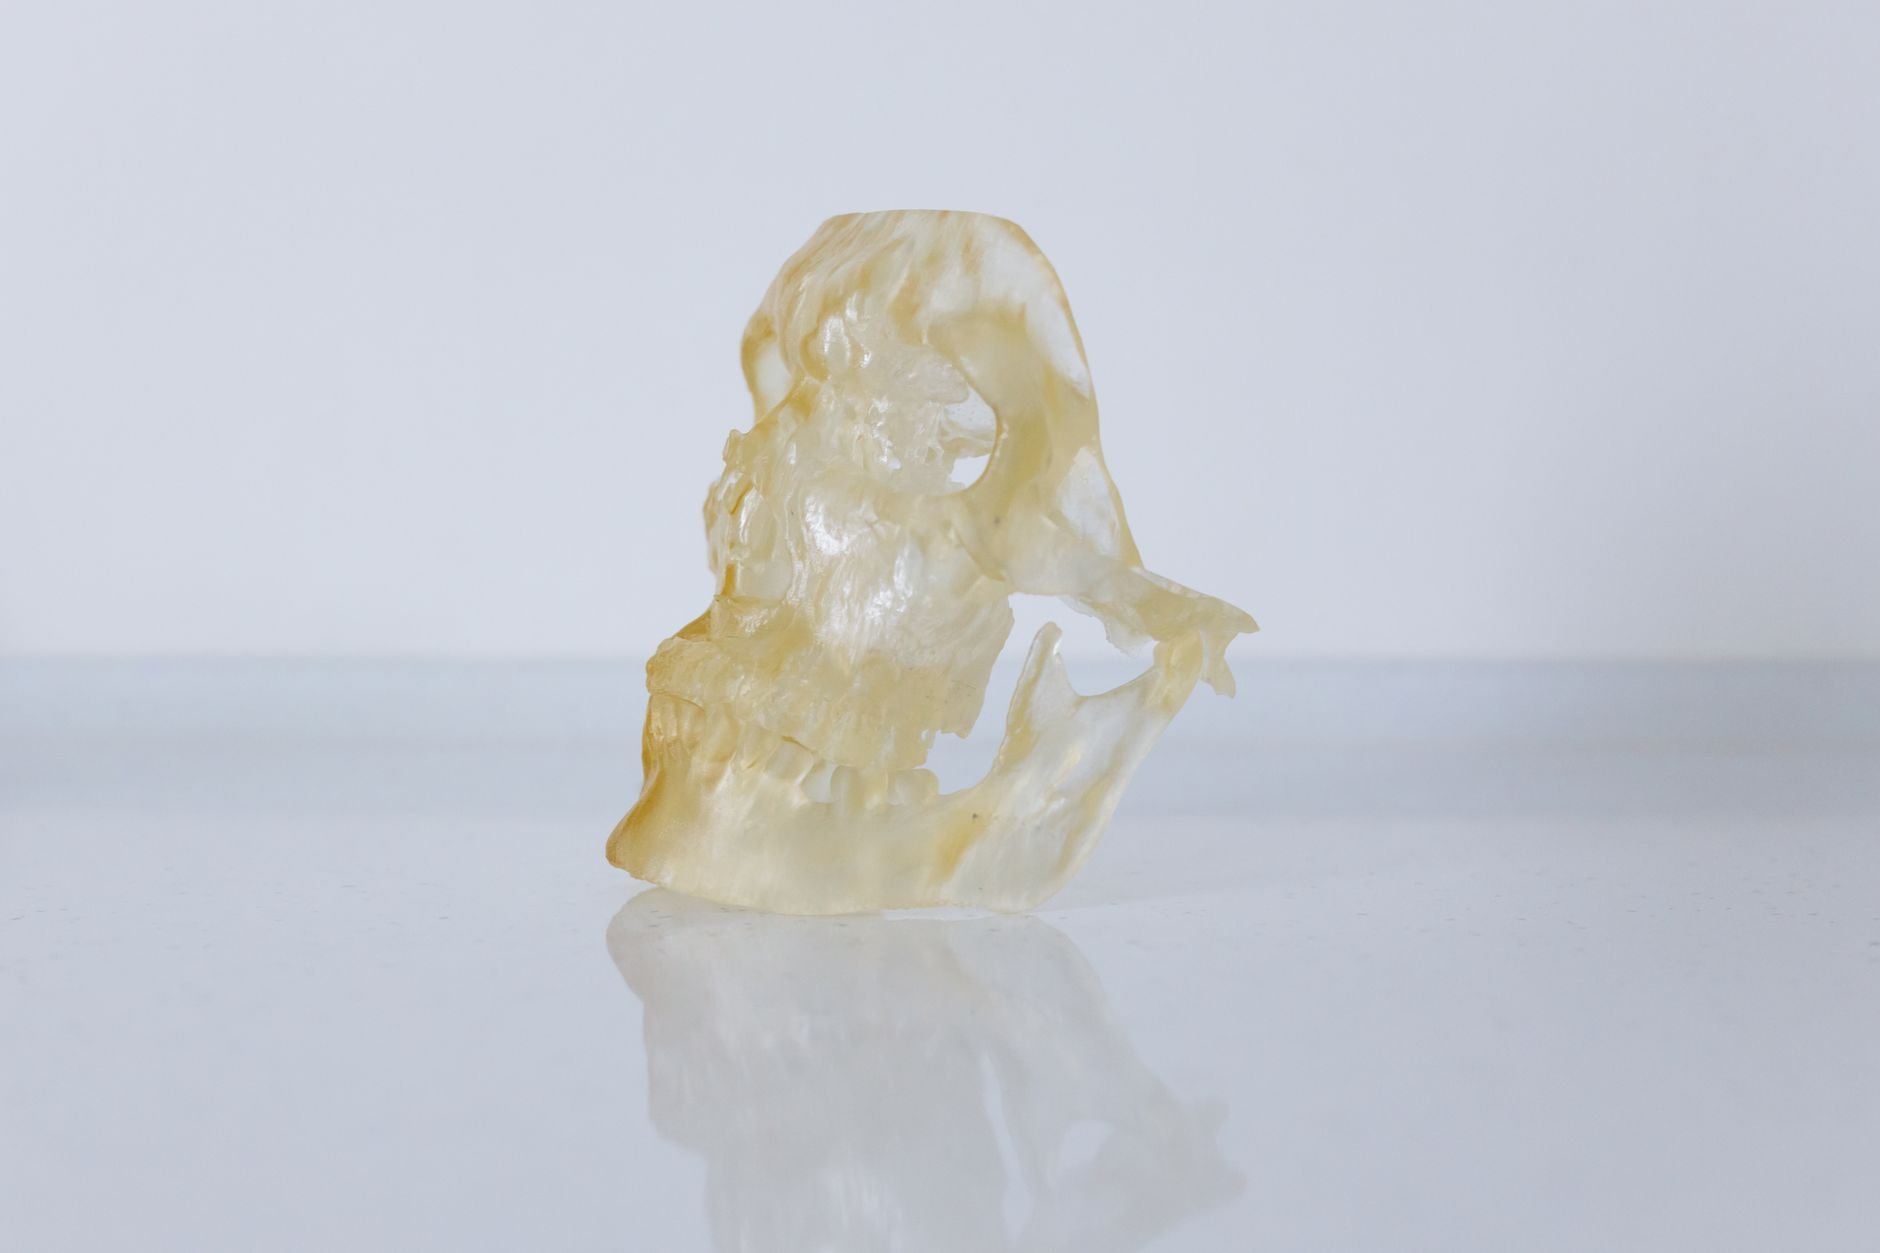
The 1986 patent was aimed at engineers who wanted prototypes faster, and the same strength suits hobbyists today. Layers are very thin, and the light can harden very small features, so miniatures, jewellery patterns, dental-style models and detailed prototypes come out with surfaces that look nearly moulded.
Typical beginner projects include:
- Tabletop-game miniatures with faces, folds and fine texture.
- Master patterns for casting and moulding.
- Small mechanical prototypes where fit and finish matter.
- Display pieces that will be sanded and painted.
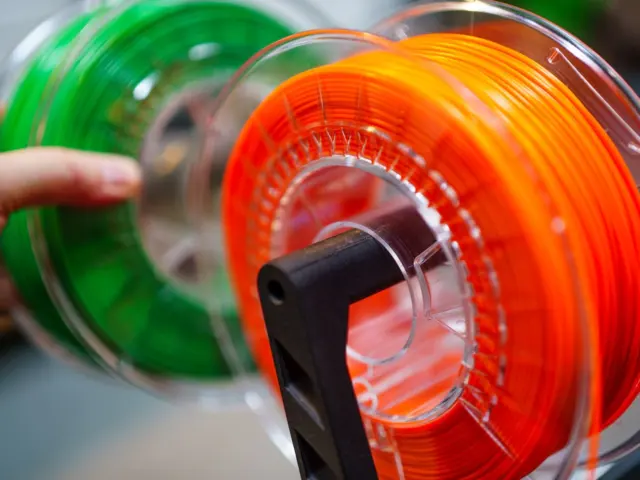
The trade-off is size and toughness. Build volumes on hobby resin machines are usually small, and standard resins tend to be more brittle than printed plastics. For tough, outdoor or load-bearing parts, a filament such as petg filament is often the more practical material.
Resin versus filament printing
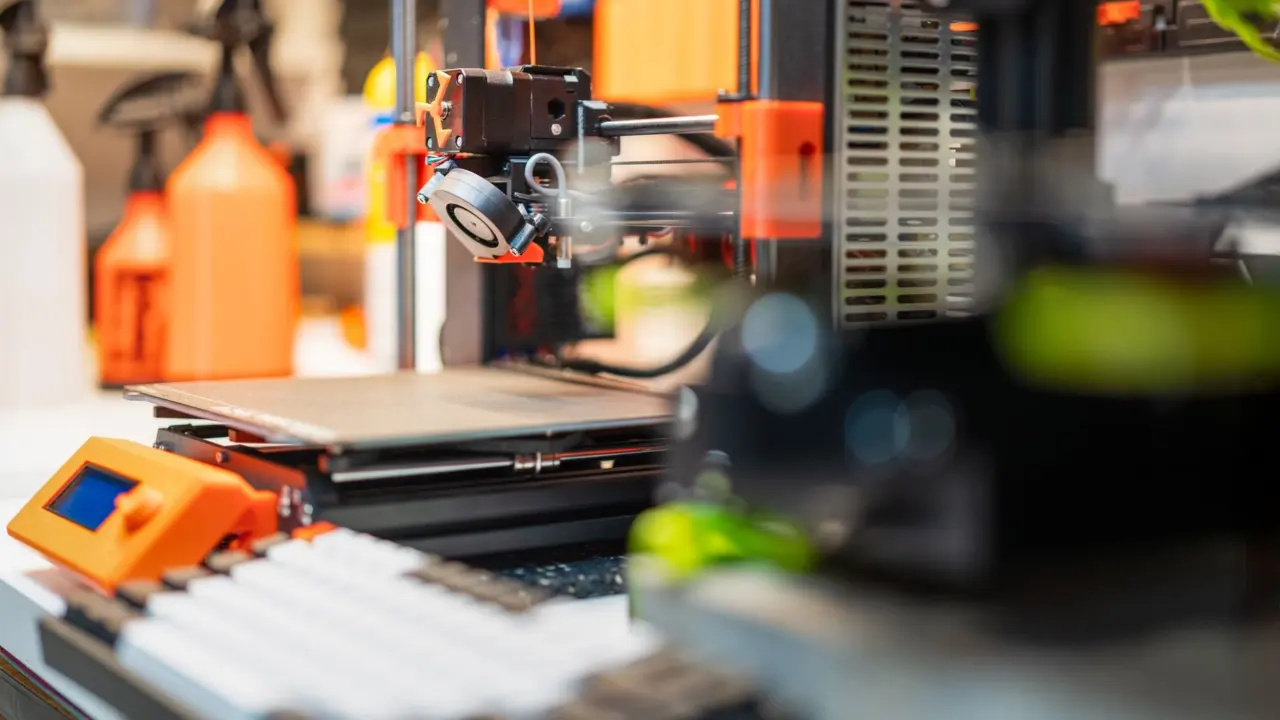
Since stereolithography’s 1986 patent grant, a second family of machines has grown up beside it: filament extrusion. Anyone choosing between the two should weigh detail against convenience. A guide to fdm 3d printing covers the filament side in depth.
| Question | Resin | Filament (FDM) |
|---|---|---|
| Fine detail | Excellent | Good, with visible layer lines |
| Cleanup | Wash in solvent, then UV cure | Remove supports, optional sanding |
| Handling risk | Uncured resin is toxic | Hot nozzle and bed |
| Typical part strength | Often brittle | Often tougher |
| Workspace | Ventilated, with gloves and bins | Open shelf is usually fine |
Table basis: the handling and cleanup rows draw on the Toronto Metropolitan University SLA safety sheet, and the history draws on Wikipedia’s stereolithography entry; the strength and detail rows are general characterisations.
The practical difference is the mess. Resin also asks for more planning around time: a print, a wash and a cure all happen before a part is ready, so a model that a filament machine hands over at the end of a print may need extra time at the resin station. Beginners often find that the routine, not the printing itself, is the learning curve.
That aside, the contrast in effort is real. Filament parts come off the bed ready to use, while resin parts come out wet and sticky, so a resin printer needs a small dedicated station rather than a spot on a desk.
Safety basics for resin printing
Two chemicals sit at the top of the hazard list in the Toronto Metropolitan University SLA safety sheet: resin and isopropyl alcohol (IPA). The sheet states plainly that uncured resins are toxic and advises avoiding contact with skin and eyes.
The same sheet sets out a short routine that suits a home workspace:
- Wear nitrile gloves to protect hands from resin and solvent contact.
- Operate the printer in a well-ventilated area, and cure parts there too, to limit exposure to volatile organic compounds (VOCs).
- Store resin in sealed, clearly labelled containers away from sunlight and heat.
- Make sure objects are fully cleaned and cured before handling them without gloves.
Each resin also ships with a safety data sheet from its maker. Reading it before the first print is worth the few minutes, because wash times, cure times and hazards differ between products. Children and pets should never share the space where open resin sits.
The wash and cure workflow
Two steps follow every print, and the Toronto Metropolitan University sheet names both: prints are washed with solvents to remove excess resin, then post-cured with UV light to finish. Skipping either leaves a tacky, partly hardened part that should not be handled bare-handed.
A sensible beginner sequence looks like this:
- Wear gloves and lift the build plate carefully, letting resin drip back into the vat.
- Remove the part and wash it in IPA or the solvent the resin maker recommends.
- Let the part dry, then cure it under UV light for the time stated by the resin maker.
- Remove supports, sand if needed, and paint.
Used wash solvent contains dissolved resin and should be treated as chemical waste, not poured down a drain. Local rules vary, so check with the local waste authority. Wipe paper towels, gloves and failed prints with the same care until they are fully cured.
Choosing a first printer and resin
Two decisions shape a first purchase: the machine and the resin. Entry-level machines from several makers all print the same standard photopolymers, so reviews that cover noise, build size, software and spare-part availability matter more than headline specifications. This site takes no affiliate payments, and no vendor is paid for a mention.
For resin, start with a standard resin recommended for the specific printer, because exposure settings are tuned to its light source. Specialty resins such as tough, flexible or water-washable types can come later. Buy the wash and cure supplies at the same time: nitrile gloves, a container for IPA, a UV curing station, paper towels, and a funnel with a filter for returning resin to the bottle.
Finally, pick a spot before unboxing. A stable table, away from sunlight, with a window or fan for airflow and a surface that can be wiped clean, avoids most first-week problems.
Frequently asked questions
Is resin printing safe at home?
Is resin printing safe at home?
It can be, with precautions. The Toronto Metropolitan University SLA safety sheet calls uncured resin and IPA toxic and recommends nitrile gloves and good ventilation.
Who invented resin printing?
Who invented resin printing?
Chuck Hull coined the term stereolithography when he filed his patent in 1984, and it was granted in 1986. Wikipedia also credits Hideo Kodama with an earlier layered approach in the early 1980s.
Why do printed parts need curing?
Why do printed parts need curing?
Prints leave the machine wet with resin. The Toronto Metropolitan University safety sheet says prints are washed with solvents and post-cured with UV light to finish, and that parts should be fully cleaned and cured before bare-handed contact.
Should a beginner choose resin or filament?
Should a beginner choose resin or filament?
Choose resin for small, detailed models and filament for larger or tougher parts. Hull’s 1984 process was built for prototyping detail, and the extra cleanup is the cost of that finish.