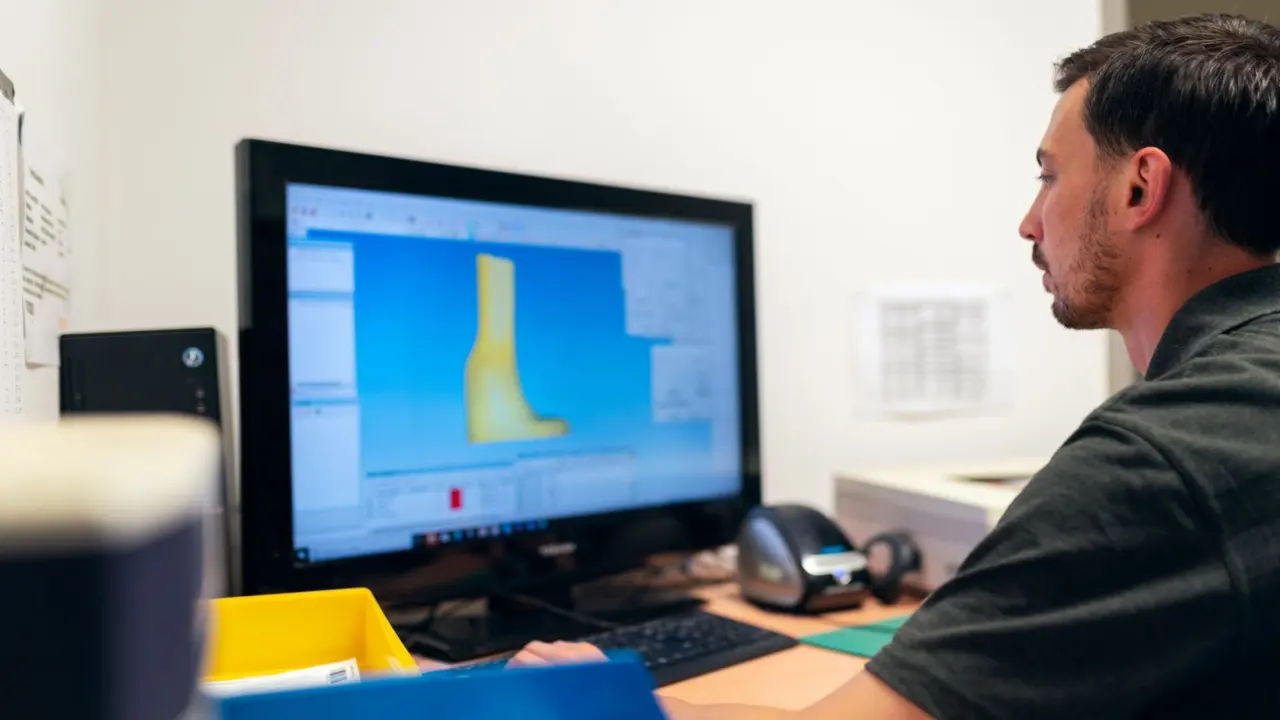
The Cura slicer is free, open-source software that cuts a 3D model into layers and writes the printer-specific g-code a machine follows. It has been released under the LGPLv3 license since 28 September 2017.
It sits at the centre of the wider 3d printing workflow, between the CAD file and the finished part.
What the Cura slicer actually does
Ultimaker Cura works by slicing the model file into layers and generating g-code for a specific printer. Wikipedia reports that it is used by over one million users worldwide. It began as the preferred slicer for Ultimaker machines, but it runs on most desktop printers from other makers too.
The input is a 3D model, not a ready-to-print instruction set. Cura accepts STL, OBJ, X3D and 3MF files, plus image formats such as BMP, GIF, JPG and PNG. Once the slice finishes, the g-code goes to the printer by SD card, USB or network, and the machine builds the object layer by layer.
Because the software is open source, development happens in public on GitHub, where the project describes itself as a 3D printer slicing GUI built on top of the Uranium framework. That openness is why printer makers can ship their own Cura profiles and why the community can write plugins.
A short history of Cura versions
Version 3.0 arrived on 17 October 2017 with an updated user interface and CAD integration, and it was the first version with plugin support. The licence change to LGPLv3 a few weeks earlier is what allowed closer integration with third-party CAD applications.
Network features followed in November 2017, when Cura Connect let users monitor and configure a group of networked printers from one interface. From October 2018, beginning with version 3.5, project files are saved in the 3MF format for better compatibility with other 3D software.
The most recent major step covered here is Ultimaker Cura 5.0, released on 17 May 2022 after a beta on 21 April 2022. It introduced a rebuilt slicer engine aimed at finer details, stronger prints and faster print profiles, along with native support for Apple M1 chips.
- LGPLv3 license change date: 28 September 2017
- User base: over one million users
- Preferred for Ultimaker, usable with others: other printers as well
- Supported file formats: STL, OBJ, X3D, 3MF; BMP, GIF, JPG, PNG
- Version 3.0 release: 17 October 2017
Setting up your first print
Installation is a standard download from the Ultimaker site or the GitHub repository. On first launch, Cura asks which printer to add. Pick your exact model from the built-in list where possible, because that loads the correct bed size, nozzle and start-up g-code. Printers that are not listed can be added as a custom FFF printer, where bed dimensions and nozzle diameter are entered by hand.
Next, choose a material profile and load a model. The recommended mode shows a small set of controls: a quality profile, infill, support and build plate adhesion. The custom mode exposes the full list of individual settings for people who want finer control.
Orientation matters as much as any setting. Rotate the model so the flattest, largest face sits on the build plate, and so that overhangs are minimised. A part printed on its side may be stronger along its layer lines in one direction and weaker in another, because layers bond less strongly than the plastic within a single layer. Cura’s move, rotate, scale and mirror tools sit in the left-hand toolbar, and the lay-flat and select-face-to-lay-on-build-plate options save time with awkward shapes.
Scale deserves a quick check too. Models downloaded from public repositories sometimes arrive in the wrong units, so a part meant to fit in the palm of a hand can appear tiny or enormous. Cura shows the dimensions on screen while the scale tool is active, and the model should be compared with the build volume outline before slicing.
Before slicing, check the physical machine. A slice cannot fix a bed that is out of tolerance, so work through 3d printer bed leveling first, since a poor first layer is the most common reason a good slice still fails.
Settings worth understanding first
Four groups of settings cover most outcomes for a beginner. Layer height trades surface detail against print time: thinner layers look smoother but take longer. Infill controls how much of the interior is solid, which sets strength, weight and material use. Supports hold up overhangs and are removed afterwards. Adhesion options such as a brim or skirt keep the part attached to the bed.
Change one setting at a time and re-slice. Cura’s preview mode shows each layer, travel move and support structure before any plastic is used, so most mistakes show up on screen first. Printing a small calibration model after each change makes the effect of that change easy to judge.
Material choice shapes which settings are sensible. PLA is forgiving and prints cooler, while PETG and ABS usually need higher nozzle and bed temperatures, and ABS often benefits from an enclosure. Cura’s material profiles supply starting temperatures and fan behaviour, but the figures printed on the filament spool are the better guide when the two differ. Saving a tuned profile for each filament brand avoids repeating the trial and error on every spool.
Finally, read the slice summary before starting. Cura reports estimated print time and material use, and the layer view lets the preview slider be dragged from the first layer to the last. Checking the first few layers on screen, especially the first layer’s contact with the plate, catches problems such as thin features that do not print or supports placed where they cannot be removed.
Plugins extend this further. Cura has a marketplace with a star-based rating system for plugins, and these add features such as extra post-processing scripts and printer integrations.
How Cura compares with other slicers
Cura is one of several capable options, and the choice is mostly about printer support and workflow habits. A broader comparison of the field is in the guide to the 3d printing slicer options. Cura’s strengths are its large library of printer profiles, its free licence and its active plugin ecosystem. Its main trade-off is that the full settings list can feel crowded until you learn which options matter.
No vendor relationship influences this page. Cura is covered on its merits as free software, and nothing here is sponsored or linked for a commission.
Frequently asked questions
Is the Cura slicer free?
Is the Cura slicer free?
Yes. Cura is released under the LGPLv3 license, which the project adopted on 28 September 2017, so it costs nothing to download and use.
Does Cura only work with Ultimaker printers?
Does Cura only work with Ultimaker printers?
No. Wikipedia describes it as the preferred slicer for Ultimaker printers but notes it can be used with other printers as well, and the 5.0 release added support for more third-party machines.
Which file types can Cura open?
Which file types can Cura open?
Cura opens STL, OBJ, X3D and 3MF model files, as well as image files such as BMP, GIF, JPG and PNG, according to Wikipedia’s description of the software.
Which Cura version should a beginner use?
Which Cura version should a beginner use?
The current stable release is the safest choice. Cura 5.0, released on 17 May 2022, introduced the rebuilt slicer engine that later versions build on.